
IPTV (Internet Protocol Television) is a simple, convent way to catch up with your favorite tv shows or watch your favorite sports team lives live without to pay cable bills.
To access IPTV, you need an ipptv player which converts the signal from your iptv provider into a format that you can watch. One of the Best Iptv Players you can use Today is the myipptv player.
MyIPTV Player is a legitimate, verified ipptv player that You can Download Directly from the Microsoft Storeand it can be instaled on any windows platform such as pc and xbox.
Read on to find out How to set up iptv on myipptv player.
How to setup and stream ipptv on your pc with myipptv player
As someone who has previously struggled with setting up various iptv services on different platforms, this out of information is very close to my heart. I have made it my life’s work to ensure others don Undergo the same challenges i did.
Follow these simple steps to set myipptv on your pc to start streaming your favorite iptv service in just a few minutes.
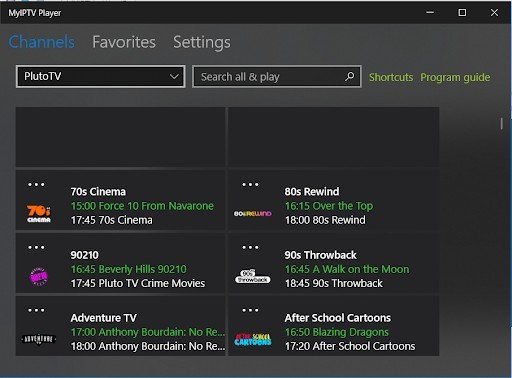
Figure 1: Myipptv Player Setup with IPTV
What you will need for this tutorial
For this tutorial, you will require the following:
- Pc
- Windows 10 or Higher
- Arm, x86, or x64 architecture
- At Least 1 Gb of Memory
- Internet Connection
- IPTV Service Provider
Myipptv Player Features
MyIPTV Player Boasts of A Understanding Feature list to follow your iptv streaming needs. It do a loanty decent job for a Free PlayerEspecially if you will be ignored the ads that may pop up on the right-sidebar since it is, after all, ad-supported.
- Live Stream Support for Both Http and Mpeg Tss
- Capability to record channels
- Channel Grouping Using Channel Metadata
- Video on demand (vod) Streams download
- Built-in support for Electronic Program Guides (EPG)
- Access Control via The Use Of Pin
- Ability to Manually Add in Channels from App Settings
Step by step instructions on how to setup ipptv on myipptv player
Step 1: Download MyIPTV Player Here.
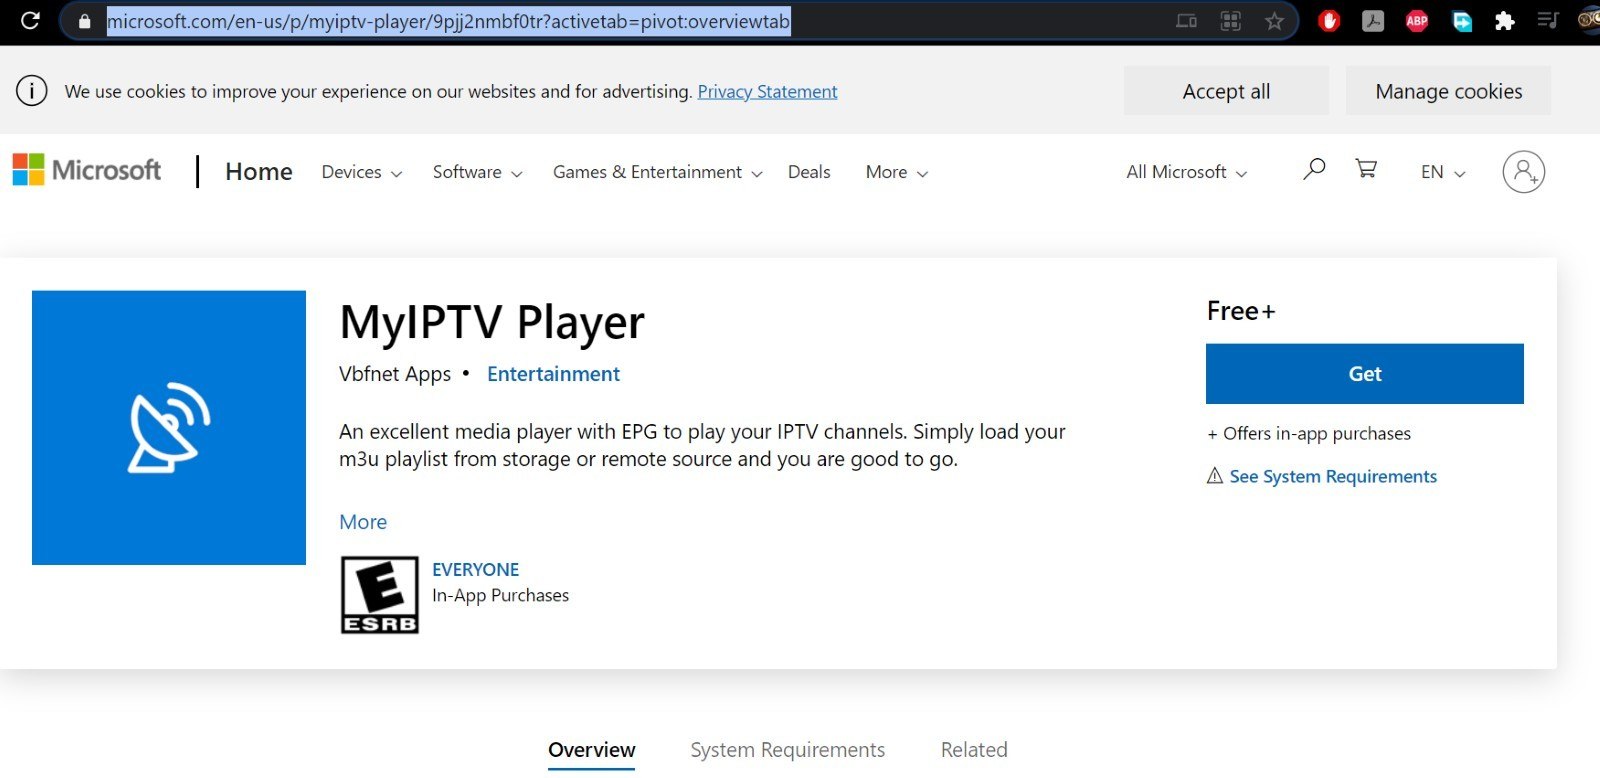
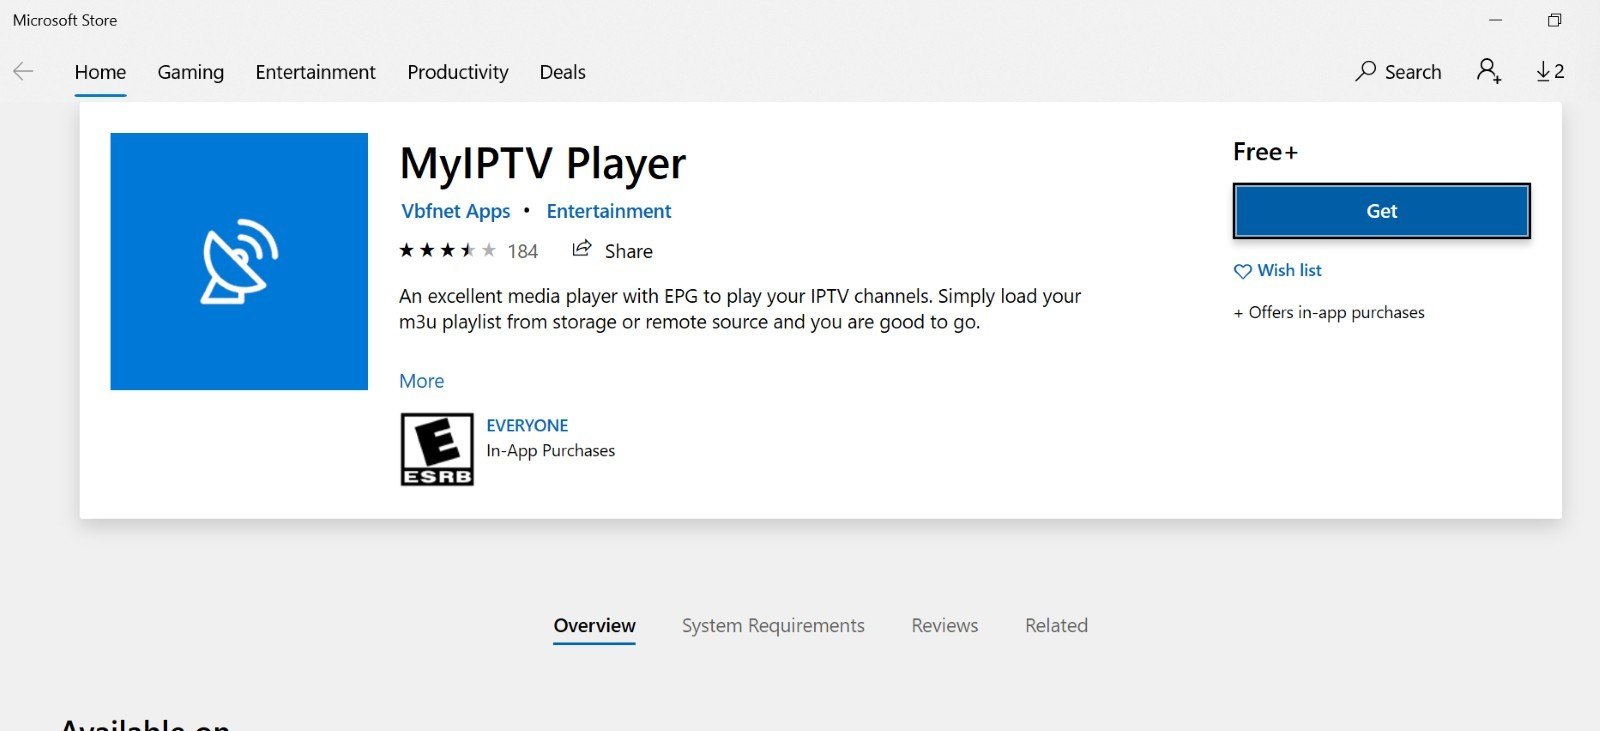
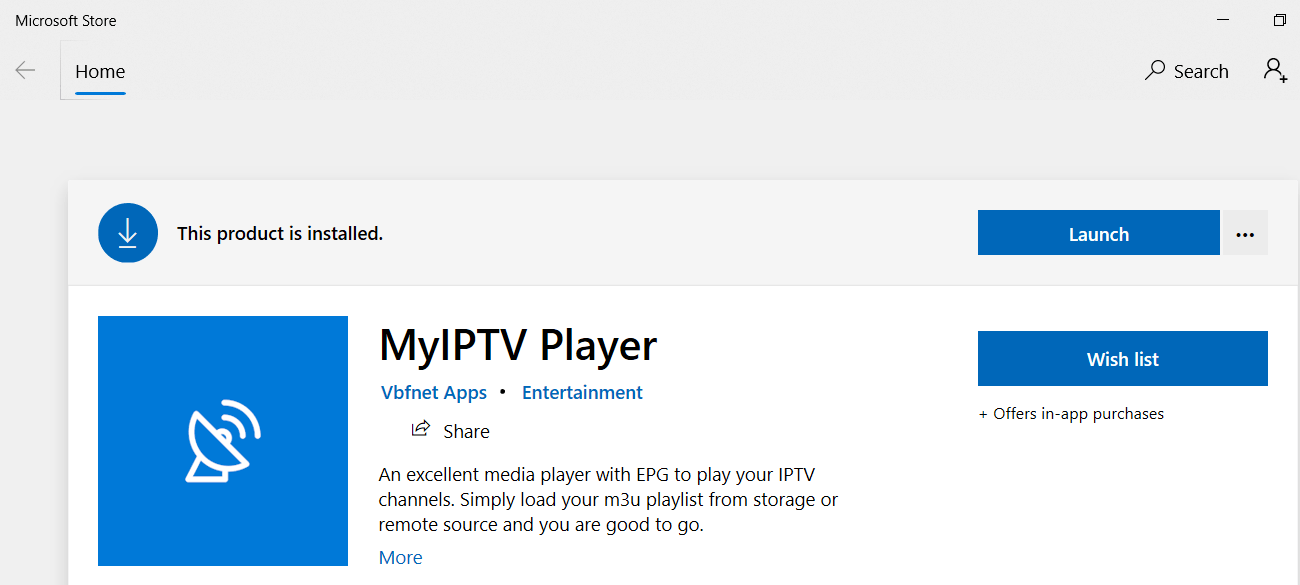
Step 2: This will lead you to the Microsoft Store. Click on “get”.
Step 3: You should see download bar as the application is downloaded onto your pc:
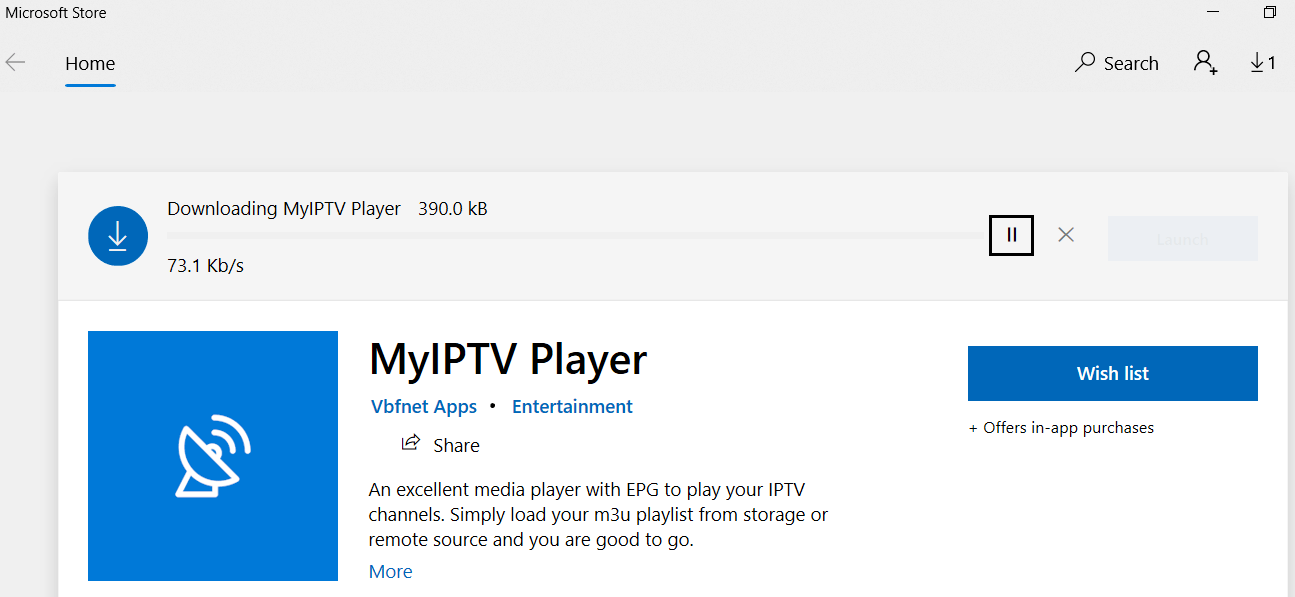
Step 4: Once the download is done, click on “Launch”.
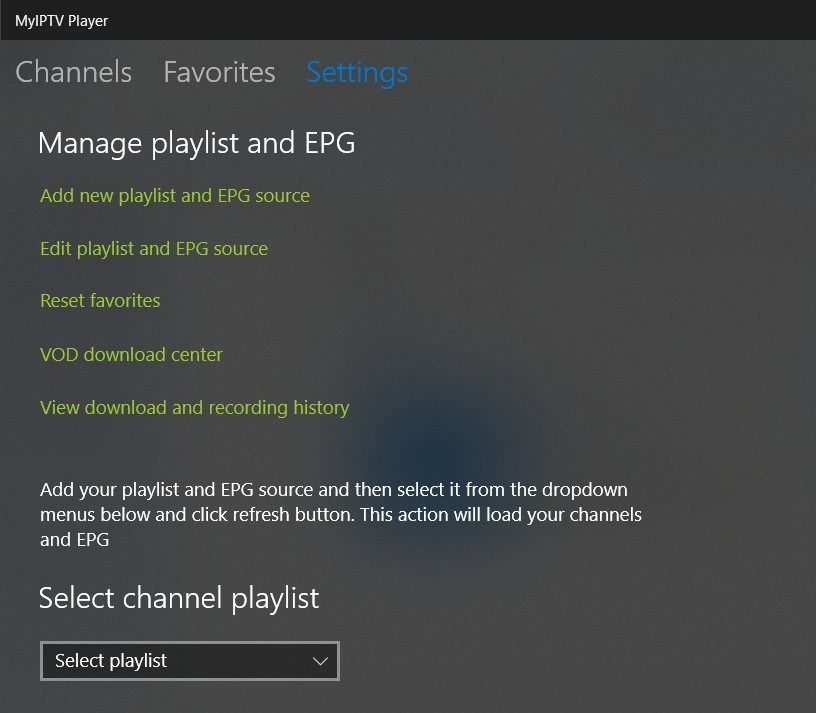
Step 5: You should see a Screen Like the One Below Once the App Launches. Click on “Settings,” then Click on “Add New Playlist and EPG Source.”
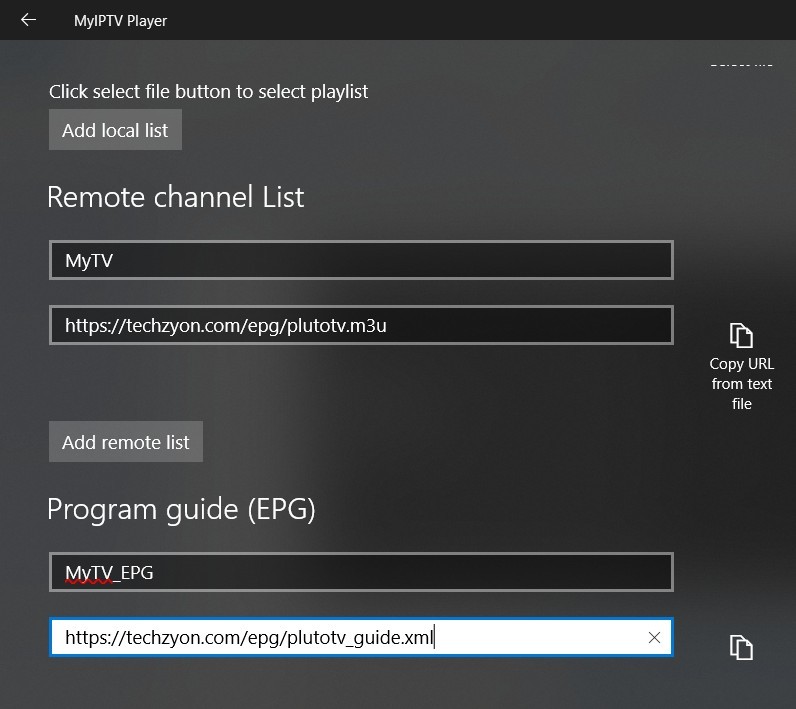
Step 6: Input the m3u playlist and program guide links provided by your iptv service provider. You will need to give each of them a name. I FIND IT EASIER TO BEVIDE them with a similar name for ease of tracking during later use.
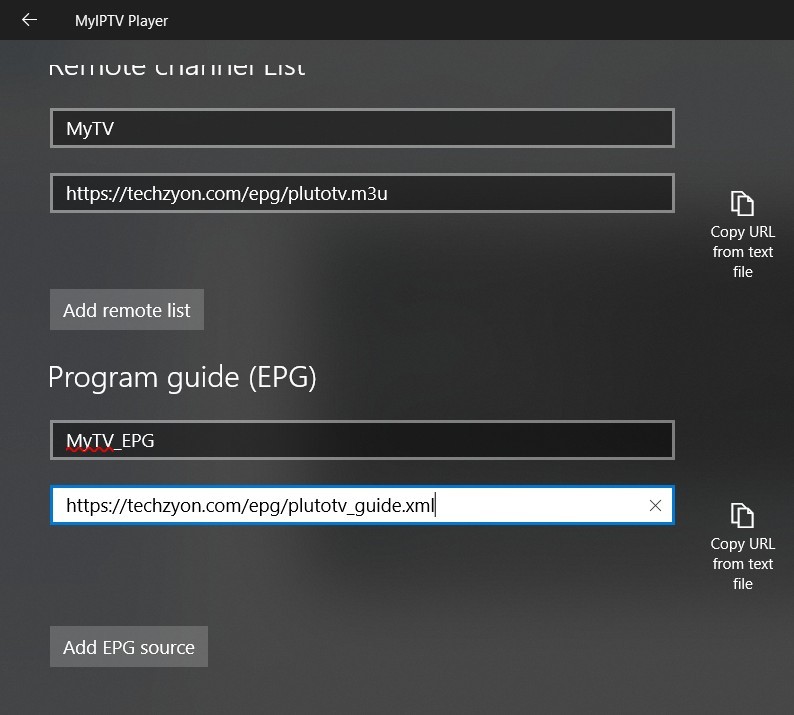
Step 7: Click on “Add Remote List” and “Add Epg Source” to add them Into the Application:
Step 8: Go back to the home page by clicking on the “back” arrow on the top left of the application and click on the “select playlist” Dropdown.
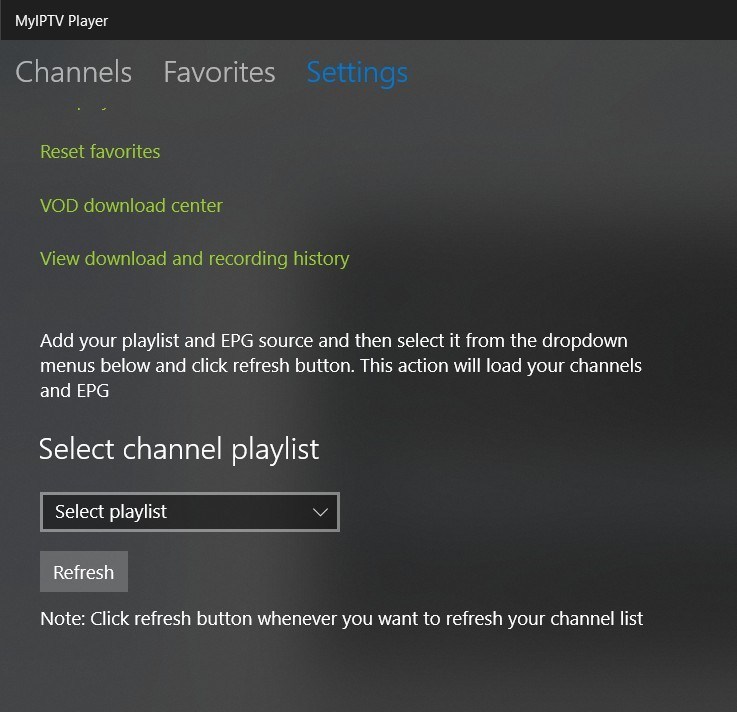
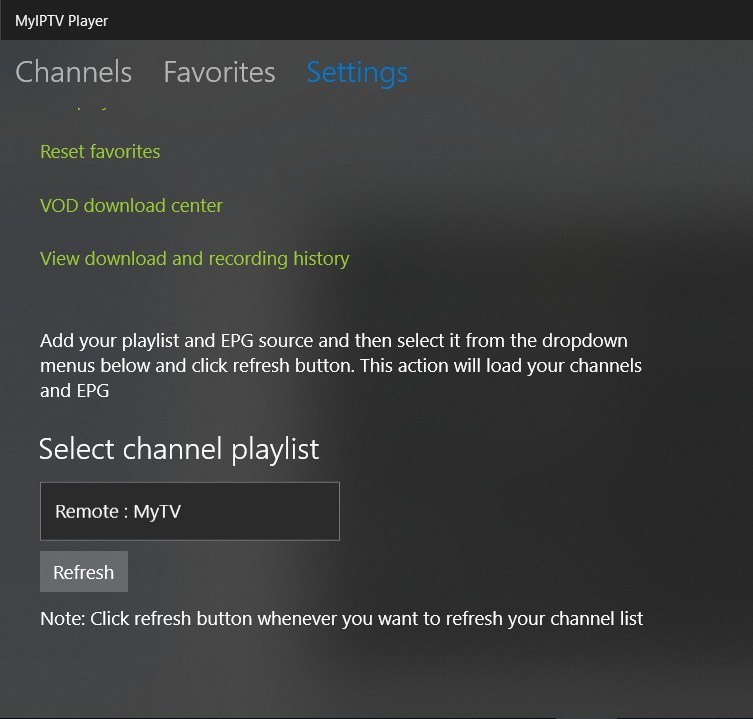
Step 9: You should see the name of the ipptv channel you previously added. Click “Refresh”:
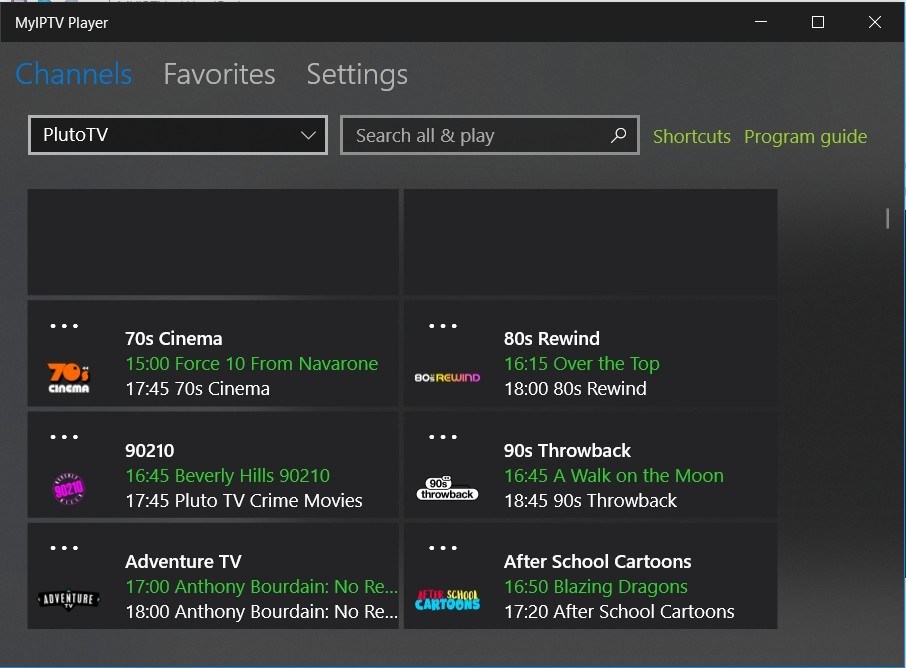
Step 10: Click on “channels” to view the channels added onto the myipptv player:

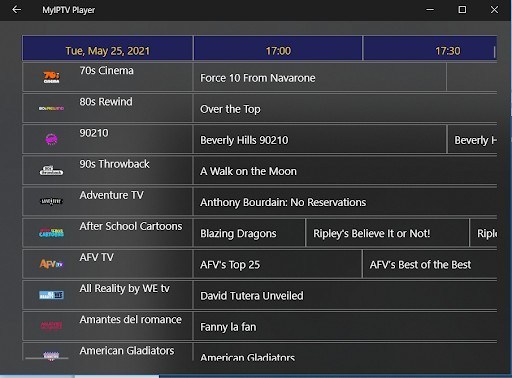
Step 11: You can click on “Program Guide” to see the program Schedule on your Channels:
Step 12: Double click on any channel to begin your viewing experience:

Conclusion
As you have seen, Setting up IPTV on the MyIPTV Player is a Straightforward Task. I Reiterate My Earlier Point That I WOULD NOT WANT ANYONE ELSE TO GO DO DE THROUGH The Challenges I Have Gone Through in Setting Up IPTV on various platforms. I use Those Challenges as Motivation to Create Such Tutorials and Guides.
I WOULD BE HAPPY to Hear Your Comments in the Down Below Section. Let me know what you think, what you like, and perhaps more importantlyly, what you think i should improves. I am always look to improve and offered you better guides as my valued readers.