
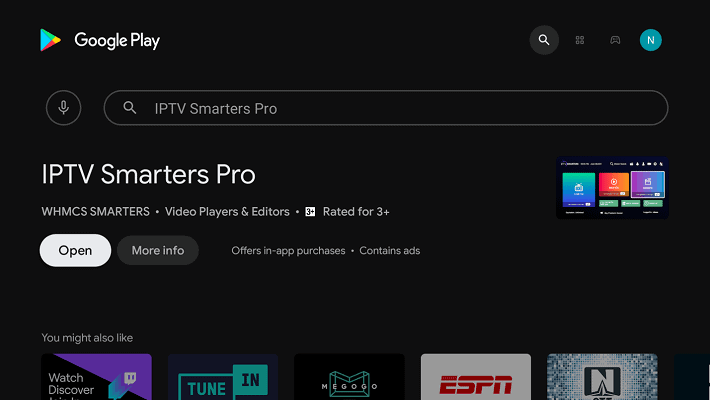
I’ll be candid and admit that i hadn’t previously heard of the IPTV Smarters Pro Player UNTIL I STUMBLED Upon it recently, so I decided to give it a shot and see what it’s all about.
I must admit I am readyty impressed. IPTV SMARTERS PRO TAKES A SOMEWHAT DIFERENT APPROACH TO MOST OTHER IPTV Players in its layout and user interface. It also included a nifty little feature that i found Pretty refreshing.
IPTV on IPTV SMARTERS PRO
IPTV SMARTERS PRO IS A FULLY-FLEDGED IPTV Player Available on Android, iOS, and Smart TV Platforms, specificly LG & SAMSUNG, available for download on the respective tv app stores. It is also certified to run on pc, ie, windows 8/10 and macOS. To my knowledge, there is no linux support as of right now.
Read on to find out How to set up IPTV on IPTV SMARTERS PRO.
What you will need for this tutorial
For this tutorial, you will require the following:
- Any Android, Windows, iOS, MacOS Platform.
- IPTV Service Provider: Feel Free to Use Any Provider of Your Choosing.
- Year Internet Connection.
IPTV Smarters Pro Boasts A Surprisingly Rich Feature List. I Still Can’t Get Over the Fact that i hadn’t heard about it before.
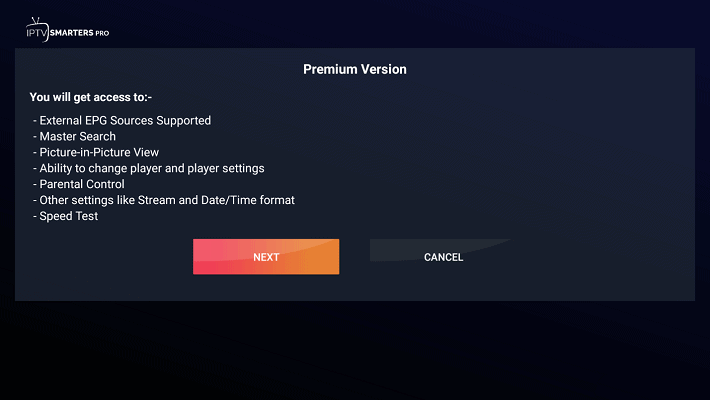
However, it is essential to note that of these features are only available if using the Premium version Such AS:
- Automatic Platform Detection (You’ll see this in the tutorial)
- Multi-Screen simultaneous viewing
- Local Content Playing
- Buffer size modification
How to setup IPTV on IPTV SMARTERS PRO:
Step 1: From your home screen, go into the play store.

Step 2: Search for “IPTV SMARTERS PRO”.

Step 3: Click on the “Install”Button.
Step 4: Ounce the installation has been complete, click “Open”To Launch The App.
Step 5: The app can detect the platform you are using it on, click save:

In my case, the Android TV Platform of the Nvidia Shield was detected as “Tv.”
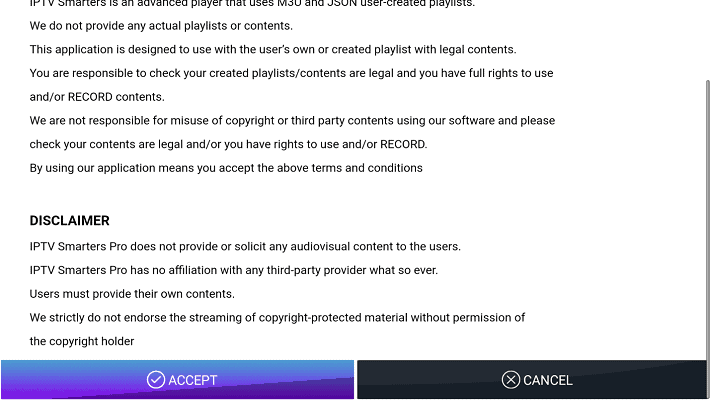
Step 6: Accept the terms and conditions presented to you.
Configuring IPTV on IPTV SMARTERS PRO
Step 1: Click on the “Load your playlist or file/url”Button to Proceeds.
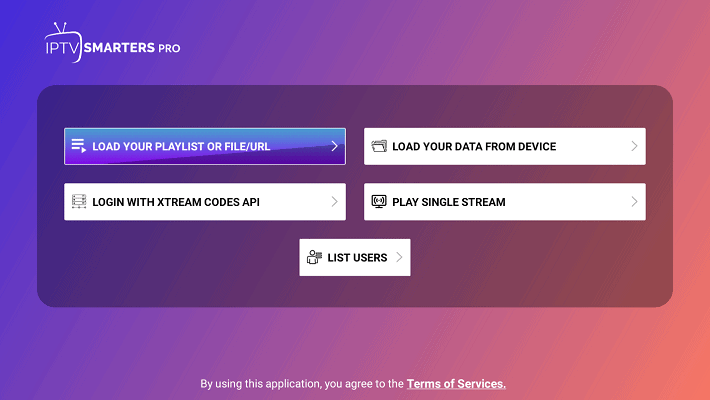
Step 2: Click “Allow”To Allow IPTV Smarters Pro To Access Files on your Device.

Step 3: Fill in the app form, then click on “Add User”.
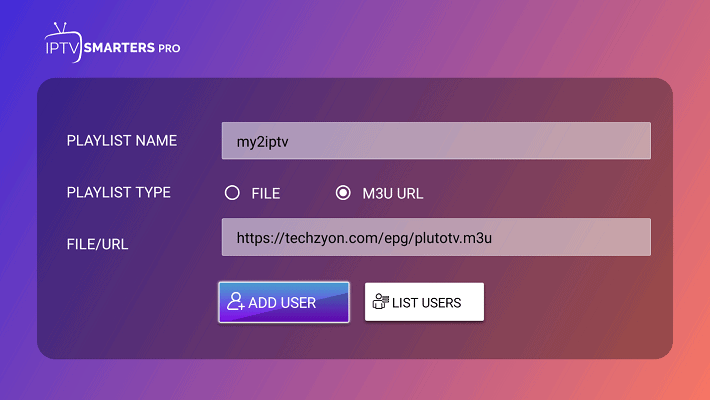
Playlist Name SHOULD BE A NAME YOU CAN EASILY Reference If you have multiple IPTV Services. The playlist type Should be M3uand the file/url Should be the M3U link provided by your iptv provider. It is important to note that app denotes different iptv services as “Users”So don’t be confused.
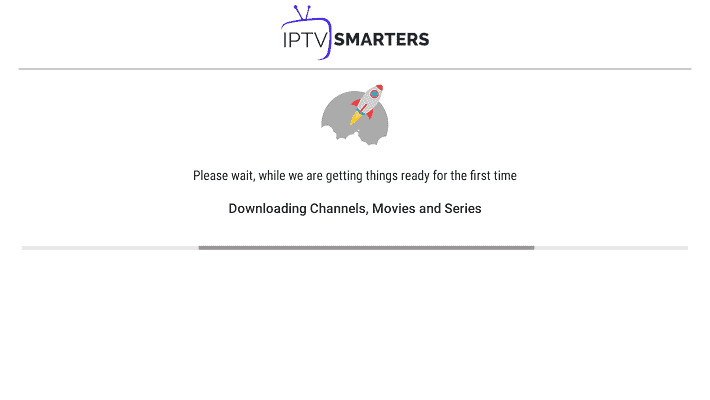
Step 4: You should see the Below Screen Indicating That the M3u Content is loading:
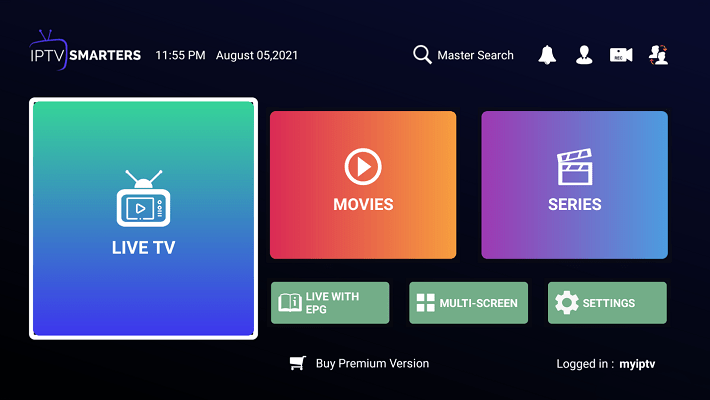
Step 5: You will be presented with the below screen. Once The Loading is complete, Click on “Live TV”:
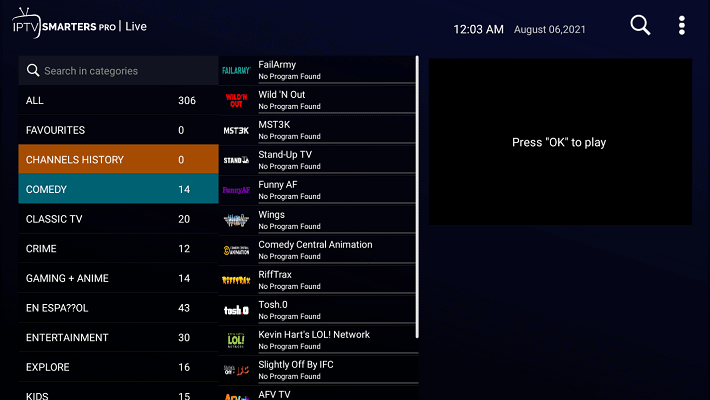
Step 6: You will now be presented with the Below Screen Showing the Iptv Channel Categories to the Left, the Channel in Each Category in the Middle, and a Pip (picture in picture) Display to the right.
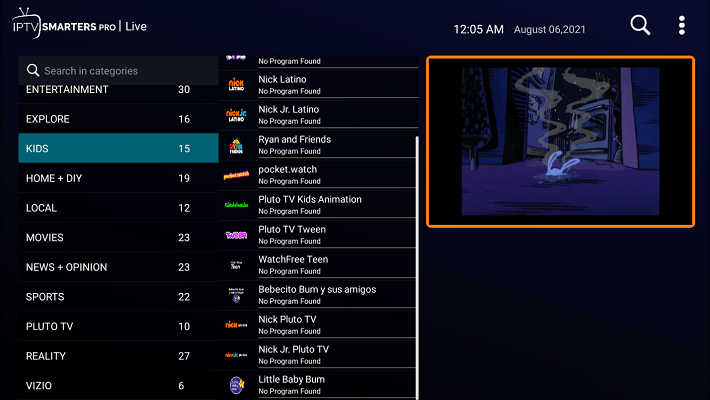
Step 7: Click on Any Channel of Your Choosing. Note that the Channel Will Start Playing in the Small Window, Allowing You To Preview the Content Before Playing It On Full Screen. Click on the Display.
Step 8: You can now Enjoy Watching in Full-Screen Goodness. Click on the “Multi-screen”Button at the Bottom.

Step 9: Choose The Multi-Screen Layout You Would Like To Have.
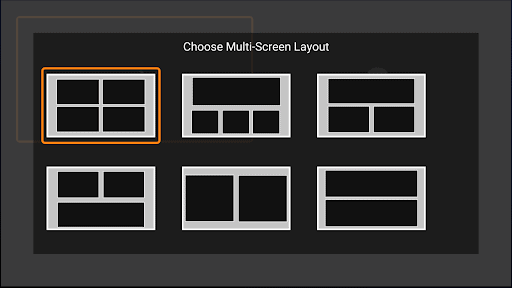
Step 10: You can now Watch multiple channels on multiple screenings at the same time.

I must admit, i was blown away by this. This is the first time i have encouraged a player that can do this, and it’s absolutely fantastic!
Additional Functionality:
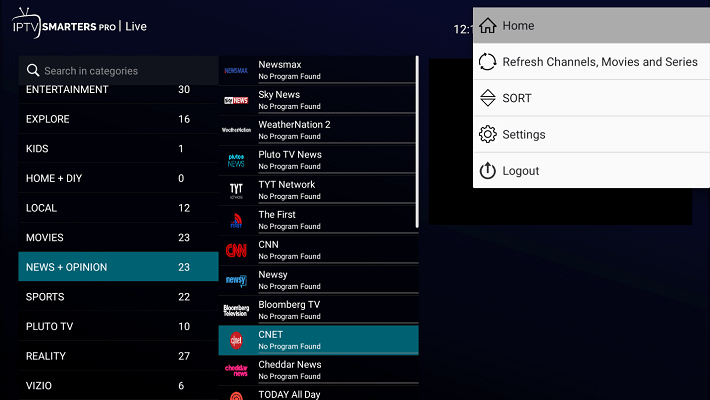
Step 1: Under the channel list, you can long click on any channel to add it to favorite or to start recording, Remember the Player Live TV Recording supports.


Step 2: Clicking on the Top Right Dot Menu Provids The Below Menu that Allows You To Sort Channels/Categories, or Even Refresh the M3 U Content Should you need to.
Step 3: Tea “Setings”Item prompt you to upgrade to the premium version to unlock additional functionality.
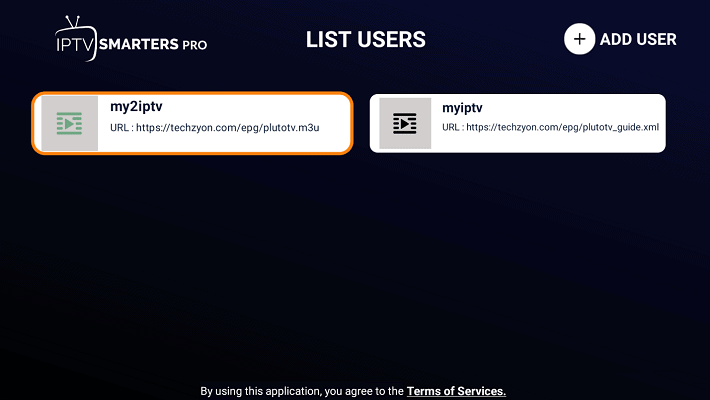
Step 4: You can also Switch Between “users”IE, IPTV Services Making the Player Quite Handy at Handling Multiple IPTV Services Should the Need Arise.
Conclusion
It’s Pretty Easy to Set Up IPTV On IPTV Smarters Pro. Still, a lot of the functionality is locked into the premium paid version. All in All, I WOULD RECOMME THE PLAYER, MAINELY Due to the Multi-Screen Support.
However, if you’re coming from an open-source player Player such as kodi, you may find the Whole “Premium version” Thing a bit Tiring.
As Always, i look forward to hearing your thoughts and comments in the comments below. Let me know what you feel i should improve on, or drop a note to let me know you enjoyed the tutorial.